Page Layout Tab का यह Group User को Document Page के Size और उसके Layout को बदलने की सुविधा Provide करता है।
Margins
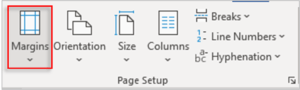
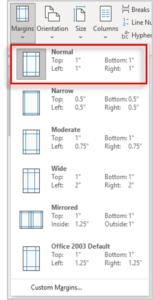
यह आपके Page पर Text और Border के बीच का जगह होता है। जो Default रूप से 1 Inch (1”) पर Set होता है। आप अपनी आवश्यकता के Base पर Margin को Normal, Narrow, Wide, etc. में बदल सकते हैं।
Step 1: Page Setup Group से Margins पर Click करे।
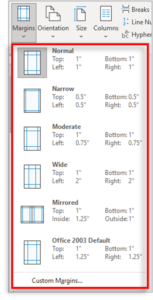
Step 2: Margins का Dialog Box खुलेगा।
Step 3:Document में जैसा Margin चाहिए उस पर Click करे।
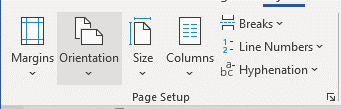
Orientation
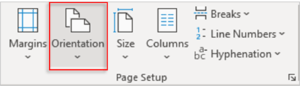
इस Command की Help से आप Page को Portrait (Vertical) और Landscape (Horizontal) में Display कर सकते है।
Step 1: Page Setup Group से Orientation पर Click करे।
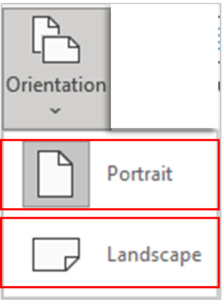
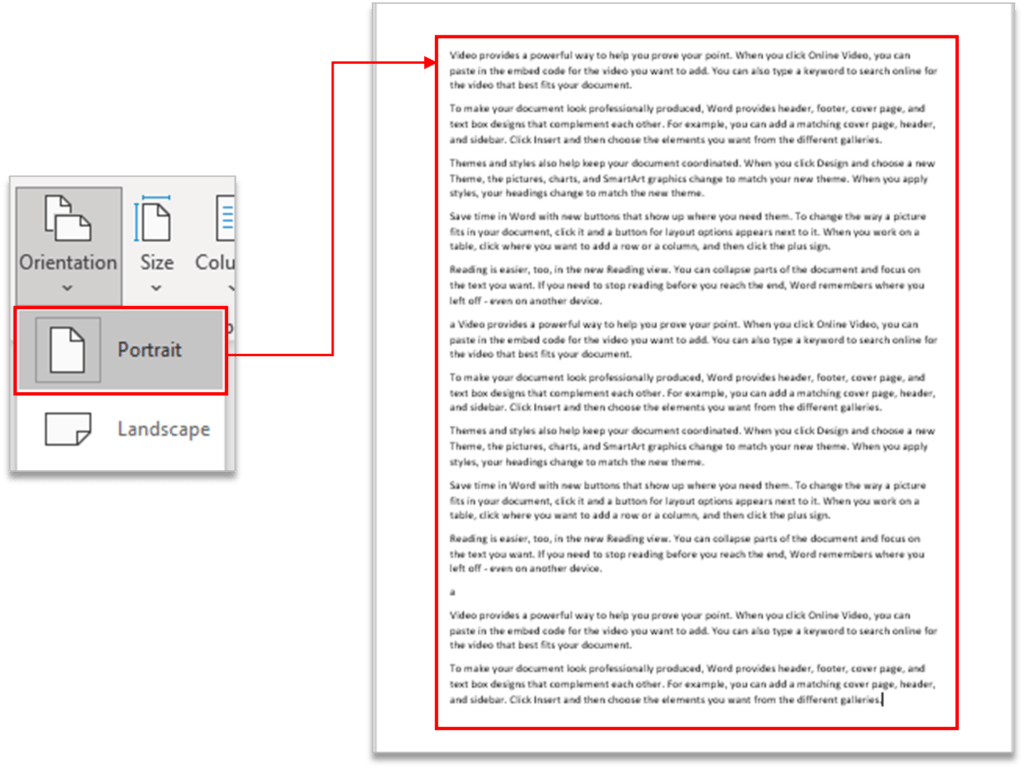
Step 2: इसमें दो Option होता है Portrait (Vertical) और Landscape (Horizontal)
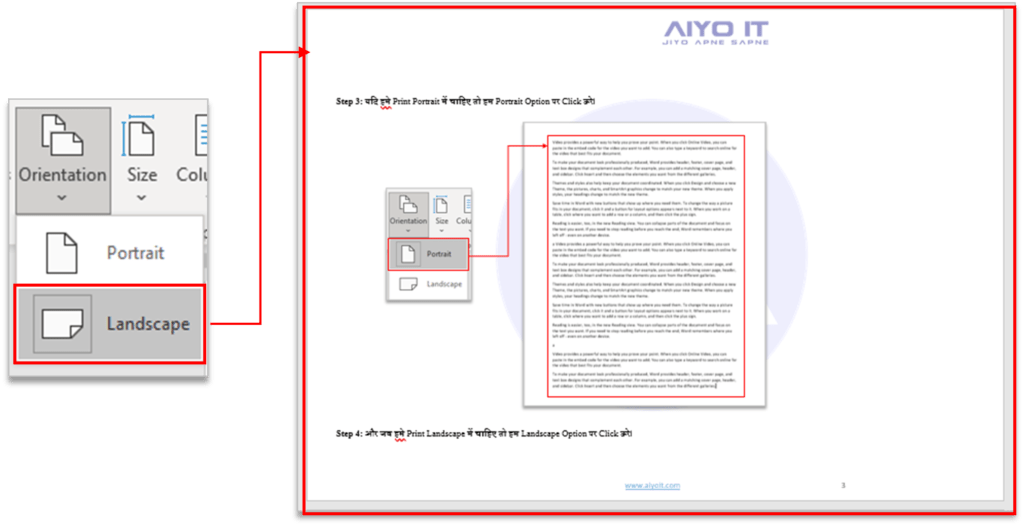
Step 3: यदि हमे Print Portrait में चाहिए तो हम Portrait Optionपर Click करे।
Step 4: और जब हमे Print Landscape में चाहिए तो हम Landscape Optionपर Click करे।
Size
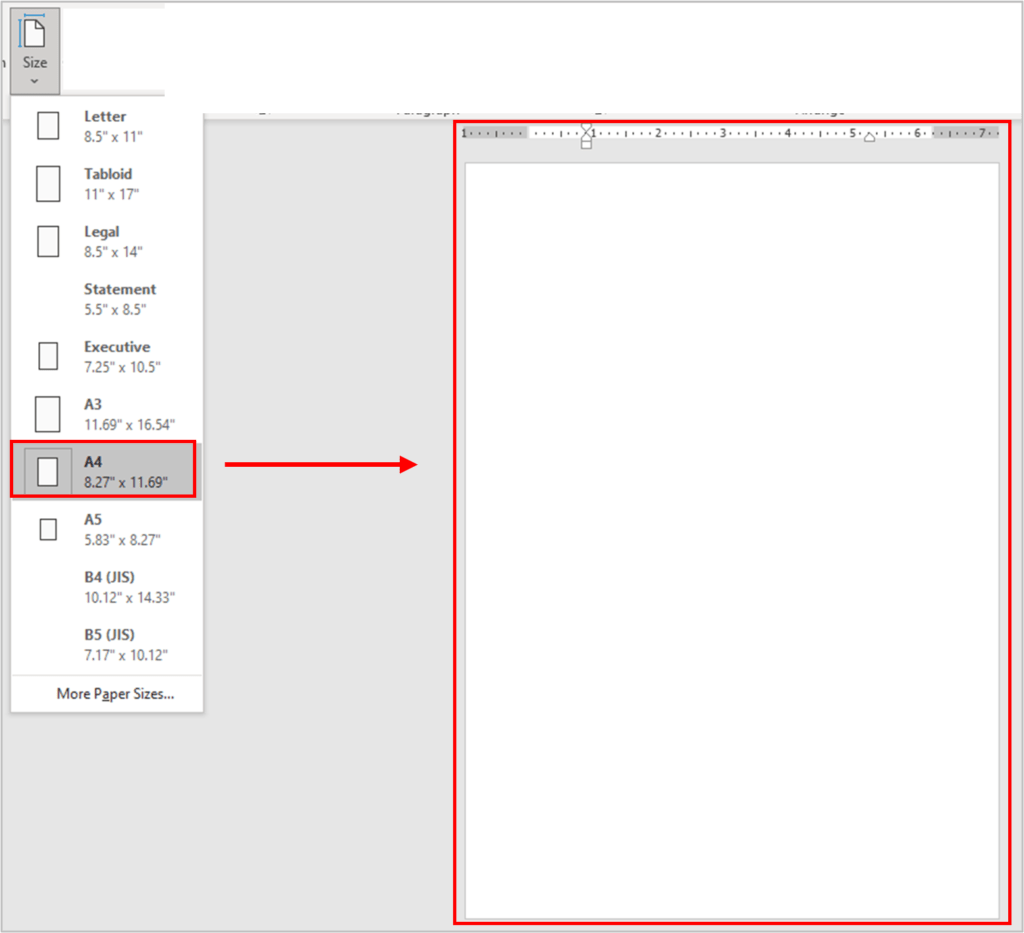
यह Command के Use से आप अपने Document Page को अलग-अलग Size में Change की सुविधा प्रदान करता हैं। जैसे A3, A4, A5, etc. Size में Change कर सकते है।
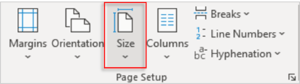
Step 1: Page Setup Group से Size पर Click करे।
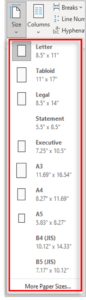
Step 2: Size का एक Dialog Box खुलेगा।
Step 3:जिस Size का Page Size लेना हो उस पर Click करे।
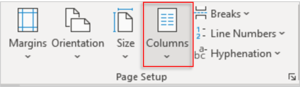
Columns
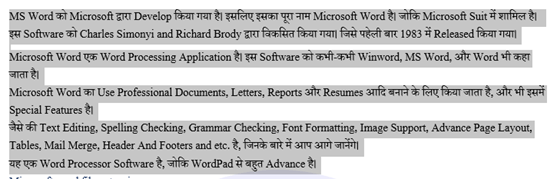
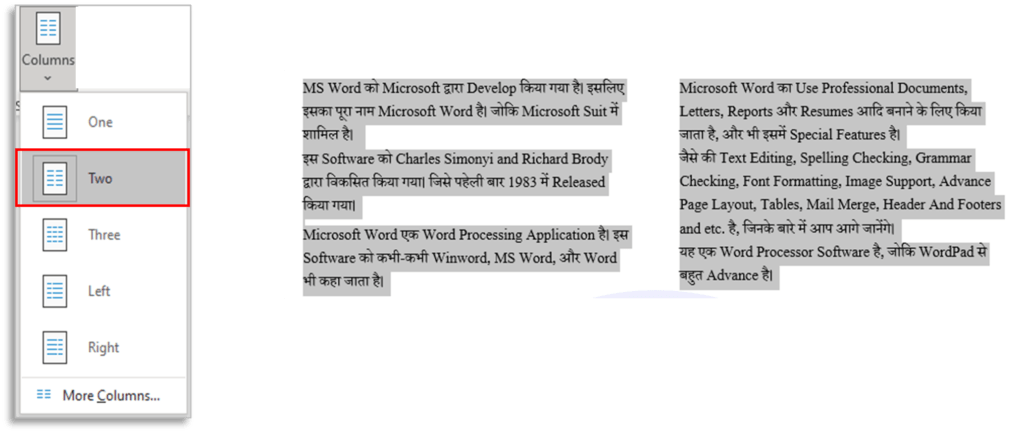
इस Command का Use आप किसी Paragraph को दो या उससे अधिक Columns में Divide करने के लिए कर सकते हैं।
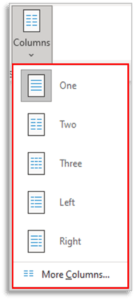
Step 1: Page Setup Group से Columns पर Click करे।
Step 2: Column का एक Dialog Box खुलेगा।
Step 3:Textको Select करे।
Step 4: जितने Columns में करना हो उस पर Clickकरे।
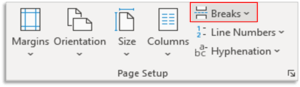
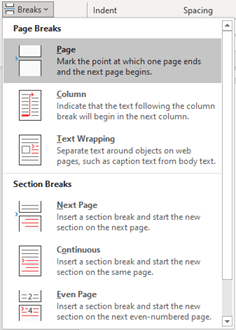
Break
इस Command का Use आप Document Text को एक नए Page में Move करने के लिए कर सकते हैं।
Step 1: Page Setup Group से Break पर Click करे।
Step 2: Curser वहा रखे जहा से Break करना हो ।
Step 3: फिर Break पर Clickकरेंगे उसका एक Dialog Box खुलेगा ।
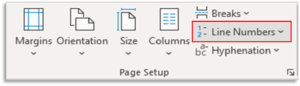
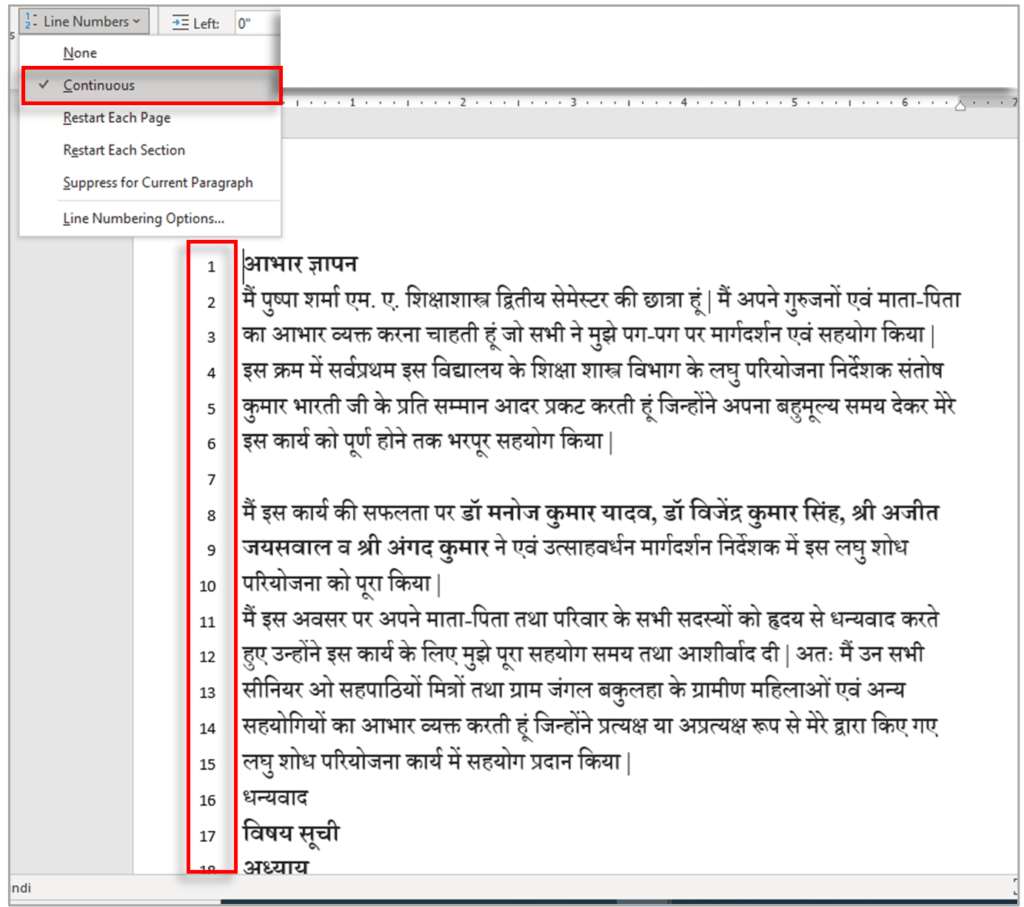
Line Number
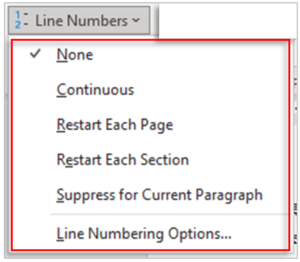
आप इस Option का Use अपने Document Page की प्रत्येक Line के सामने Number देने के लिए कर सकते हैं।
Step 1: Page Setup Group से Line Number पर Click करे।
Step 2: इसका एक Dialog Box खुलेगा।
Step 3: जिस Line के सामने Number देना हो वह Click करे ।
Step 4: और Line Number Box से जिस Type का Line Number अपने Document मे लगाना हो उस पर Click करे ।
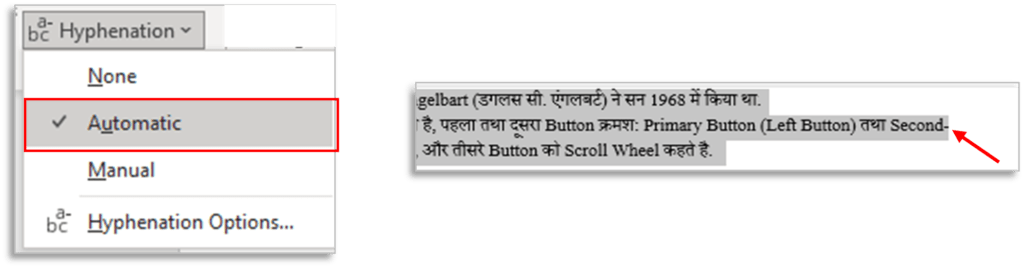
Hyphenation
Document मे Automatic Hyphenate (-) करने के लिए इस Option का Use कर सकते है।
Step 1: Text को Select करे ।
Step 2: Layout Group से Hyphenation पर Click करे ।
Step 3: और इसका Dialog Box खुलेगा उसमे से किसे Option पर Click करे ।